A Daemon Prince Awakens

0 comments
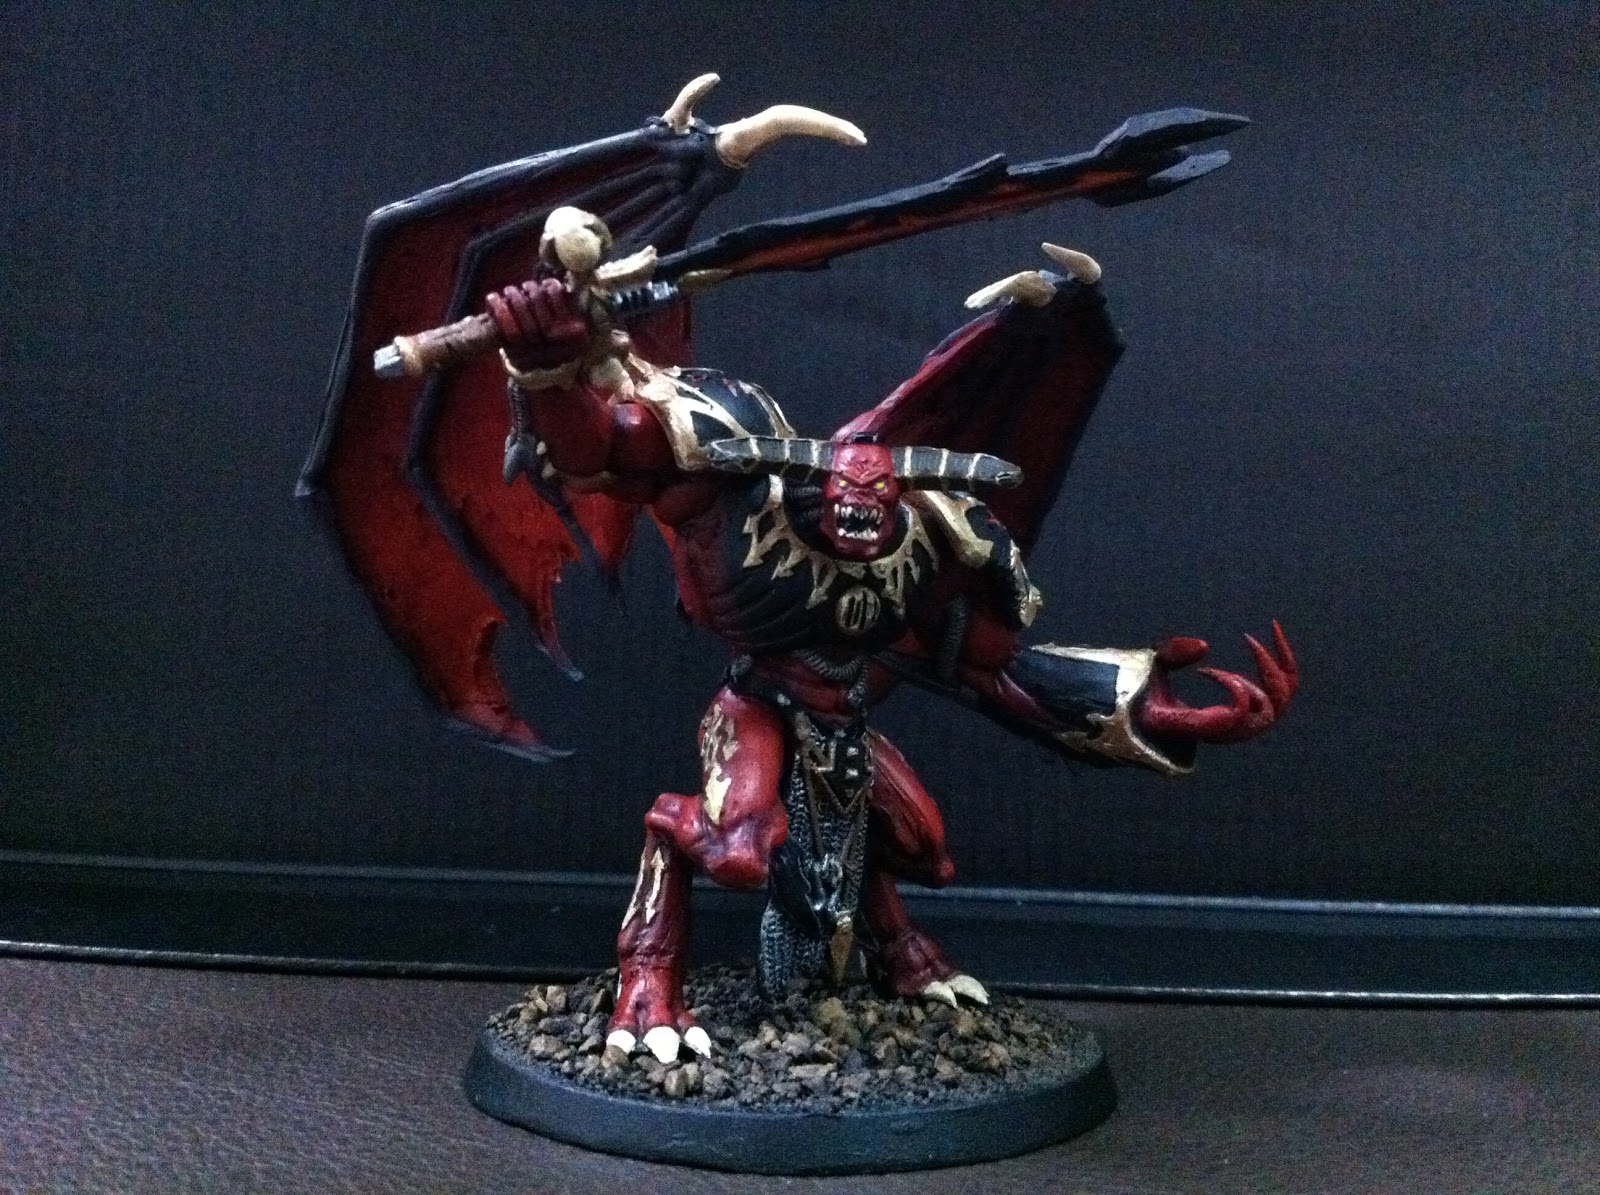
Fully painted, varnished and based!

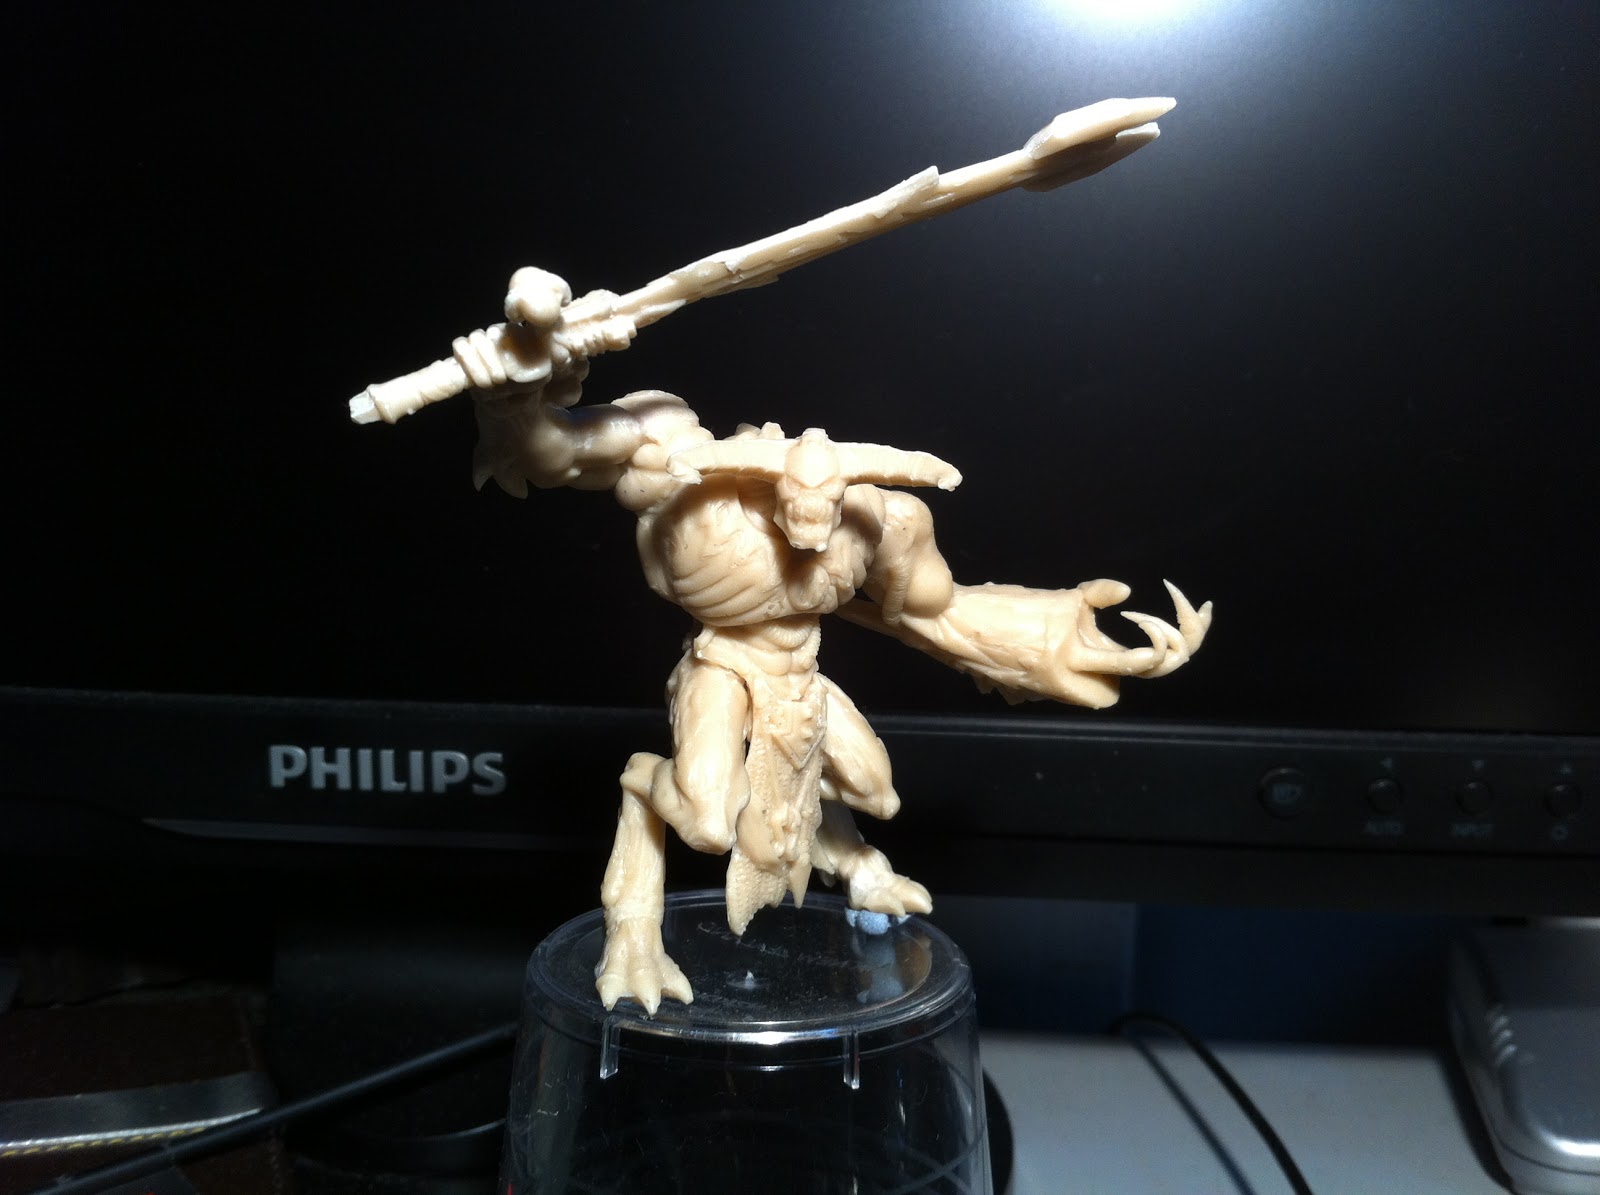
There are some imperfections in the model as the entire figure, including the base, is created out of epoxy putty.
Took me about 20 hours to paint this guy.

Most of that time was spent on adding thin layers of paint to shade the muscles and wings.
It was alot of fun painting this model, and painting muscles is a first for me.
Huge wings! I compared it to the standard pose on the original model and the wings on this is more extended in comparison.

I am glad wings do not count for Line of Sight purposes.
I really need to make a lightbox.

The wings are blocking the light and makes it pretty hard to appreciate the shading on the muscles.
Did a blend of dark red, blood red and orange fire to achieve the gradient effect on the wings.

The underside of the wings are shaded in the same way.
Decided to make the blade black so as to contrast with the lava effect etched into the blade.
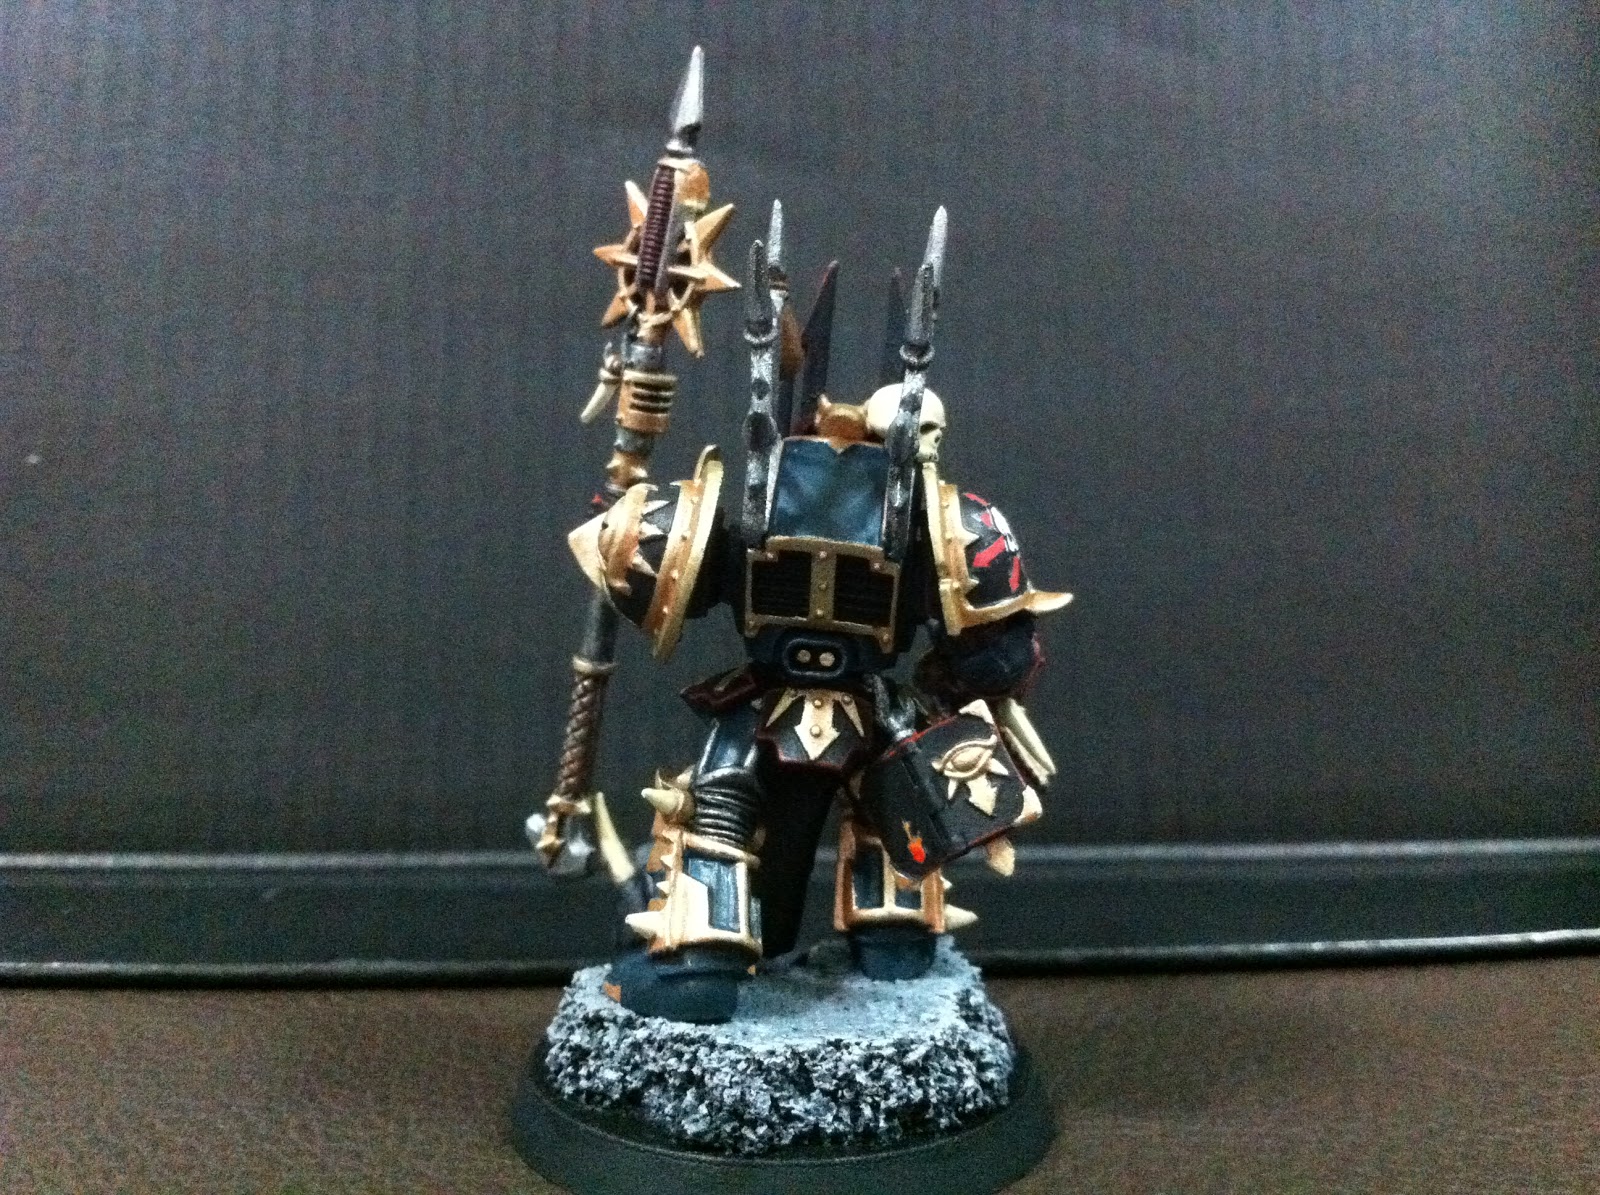
Did a similar lava effect with blood red and orange for the chaos sigil on the shoulder pads.
Used shining gold to colour the markings on the legs.
A closer look at the head and body

Post a Comment

Daemon Prince! (WiP)

0 comments
Started painting my casted daemon prince.

This will be my practice piece before I move on to paint the original model.

Thus far, the model has been primed black and base-coated with black and dark red.

Post a Comment

20 High Elf Spearmen - Completed

0 comments
Done painting another 15 spearmen to bring the total to 20
Varied the hair colour so the unit now has bleached blondes, sandy blondes, brunettes and redheads!
Back view
Top down view

Post a Comment

Chaos Daemon Prince - Wings

0 comments

Added wings to my casted daemon prince
There are patches of grey on the wings because I used modelling putty to fill gaps caused by imperfections in the mould

Here's the casted daemon prince standing next to the original one

Post a Comment

Chaos Daemon Prince - Mould Casting

0 comments
Made a near perfect copy of my recently bought Daemon Prince!

This was done using Oyumaru (similar to Instant Mold) to create the moulds from the original parts, and then using Epoxy Putty (the kind used to plug leakages in your bathroom pipes) to make the parts themselves.
Did a little bit of sculpting to repose the figure and had to sculpt the fingers on the left hand as the fingers on the original part was difficult to duplicate using my casting technique.

Deciding if I should mould and cast the wings for it....

Post a Comment

Chaos Lord on Juggernaut

0 comments
Added a backpack to my previously repainted Chaos Lord on Juggernaut
This used to be a badly painted model that I bought off eBay at a crazy price of $2.... really...
It was missing a backpack but I managed to get the part in a separate purchase and have added it to the model
I stripped horrible paint job, carefully removed the caked-on superglue and redid it in my army's colours
Some details such as the left torso area & left shoulder pad were marred by the superglue but have been carefully painted over to disguise the defects
It has come a really long way since its' initial condition and I am extremely satisfied with the result

Post a Comment

High Elf Spearmen & Archers - Completed

0 comments
No detail was spared in the painting process

Archers - Front
Archers - Back
Spearmen - Front
Spearmen - Back
Spearmen - Shields

Post a Comment

High Elf Spearmen & Archers - WIP

0 comments
Stuff from the WHFB starter set back from '95

Mass painting eyes is a lot of work!
I wonder if the mould for archers is terrible or if it's just me, cos the eyes on these guys are kinda lopsided....

Or perhaps they are squinting with one eye cos they are trying to aim...

Post a Comment

Swooping Hawk Exarch Completed

0 comments
My one and only Swooping Hawk...
Done!

Post a Comment

Swooping Hawk Exarch - WIP

0 comments
1) Made a scenic rock base
2) Basecoated the model white
3) Painted alternate feathers with lightning blue
4) Painted the body with lightning blue and shaded with armour wash

Gonna finish this tomorrow!

Post a Comment

Eldar Harlequins

0 comments
Made up the color scheme as I went along and when I completed this guy, I thought he looks kinda like the Marvel character, Thanos.

Well, maybe if Thanos was real skinny....
Altered my technique for highlighting the gems and I think it looks better than those I did on the last Harlequin.
The next guy...

I believe this guy was the reason why I decided to buy a couple of Harlequin blister packs back in '95. I thought he looked pretty cool.
I like that power fist thingie he has for his right hand.
The mask on this model was perfect for trying out a 50/50 black and white scheme.
Gave him a punk-ass hairdo too...
And here's all of them together

Post a Comment

Eldar Harleqiun

0 comments
A 1995 OOP Metal Eldar Harlequin
It's been close to 17 years since I bought this model and only now have I decided to paint it

Did a orange-yellow blend for a fiery looking hairdo
Each gem on the model has been given 3 tones:
1) A dark base color
2) A brighter shade as a highlight
3) And pure white as an extreme highlight
Chose a simple Blue/Yellow colour scheme since its my 1st Harlequin

May get more ambitious for the other 3 of these guys that I have.

More stuff to come...

Post a Comment

Chaos Sorceror Lord Completed

1 comments
Finally done!

Click on a image and use your mouse wheel to rotate the figure for a 360 degree view
Used the same decals and paint scheme as pictured on the GW website
Will be adding flock to the base once my order for static grass comes in
Did some edge lining on the tome


Spent quite some time on the minion as well.

Didn't have purple so I mixed Red and Blue in varying amounts to create a base tone and a highlight for the face and hands.
Close up of the tome

1 comment

Post a Comment