Noise Marine Salvaged

0 comments
Salvaged a trash-painted noise marine that came in an eBay lot.

Had to strip the old paint and put in a lot of knife work to get rid of the huge gobs of superglue all over.
Notice that the posture of the marine is rather odd, with the upper body hanging way out...
This is due to the way the previous owner had glued it. From this back view it can be seen that the ball joint for the torso is more than half exposed!

Had to glue two coins under to base just to keep the model from tipping over.
Over all, I thought it was a very successful rescue attempt and the model is now decent enough for the tabletop.

Post a Comment

Iron Warrior Painting Walkthrough

0 comments
A quick guide on how I paint my Iron Warriors. I have previously posted this on my Flickr site but have decided to shift it here.

Some steps are staggered (e.g. Highlighting the model are sometimes several stages apart) in order to allow time for the paint to dry.

1) Prime black and touch up with Chaos Black
2) Apply Boltgun Metal to body
3) Wash model with a generous amount of Armour Wash
4) Paint the face with Bleach Bone (Cos I think Chaos Marines should be really pale and pallid)
5) Apply Dwarf Bronze to armour trim
6) Apply a brown paint (I mixed blood red and green  cos I don't have brown paint) to the leather band holding the CSM's pony tail)

7) Apply a heavily watered down Blood Red to the Hair
8) Wash the Hair with Armour Wash, then Red Wash

9) Paint the weapon panel with Sunburst Yellow (requires multiple coats)

10) Paint on the hazard stripes onto the yellow area with Chaos Black and paint the little skulls on model with Bleached Bone
11) Drybrush Blood Red onto the hair to highlight the individual strands
12) Drybrush Boltgun Metal to the Armour on areas catching the light
13) Drybrush Mithril Silver as an extreme Highlight to the Armour on areas catching the light
14) Drybrush Shining Gold onto parts of the armour trim catching the light and added Armour Wash to the little skulls
15) Add Armour Wash to the Leather Hairband

16) Touch up the model on all areas that have been messed up

17) Apply Decal to shoulderpad
18) Varnished model with Vallejo Matte Varnish (2 layers on shoulderpads to protect the Decal, 1 layer on the rest of the model)
19) Applied coarse mixed sand to the base with Elmer's PVA glue and voila! One more Iron Warrior to field.

Post a Comment

Mugshots

0 comments
Inmate 260212 - Chaos Terminator Lord

Height: 5 cm
Eyes: Black pools of death
D.O.B.: 26th Feb 2012
Occupation: Butcher
Subject is highly dangerous and is armed with a twin-linked combi bolter and a power weapon
Likes to stick helmets of dead Ultramarines onto his shoulder spikes...

...and eats Tyranids for breakfast...


Post a Comment

2 More Joins The Fray

0 comments
Just finished up 2 more termies
My first try at painting a cape and fur
Back view of the cape
3rd set of eyes that I've ever painted
A close-up of the eyes
And here's the entire squad!

Post a Comment

First Sight

0 comments
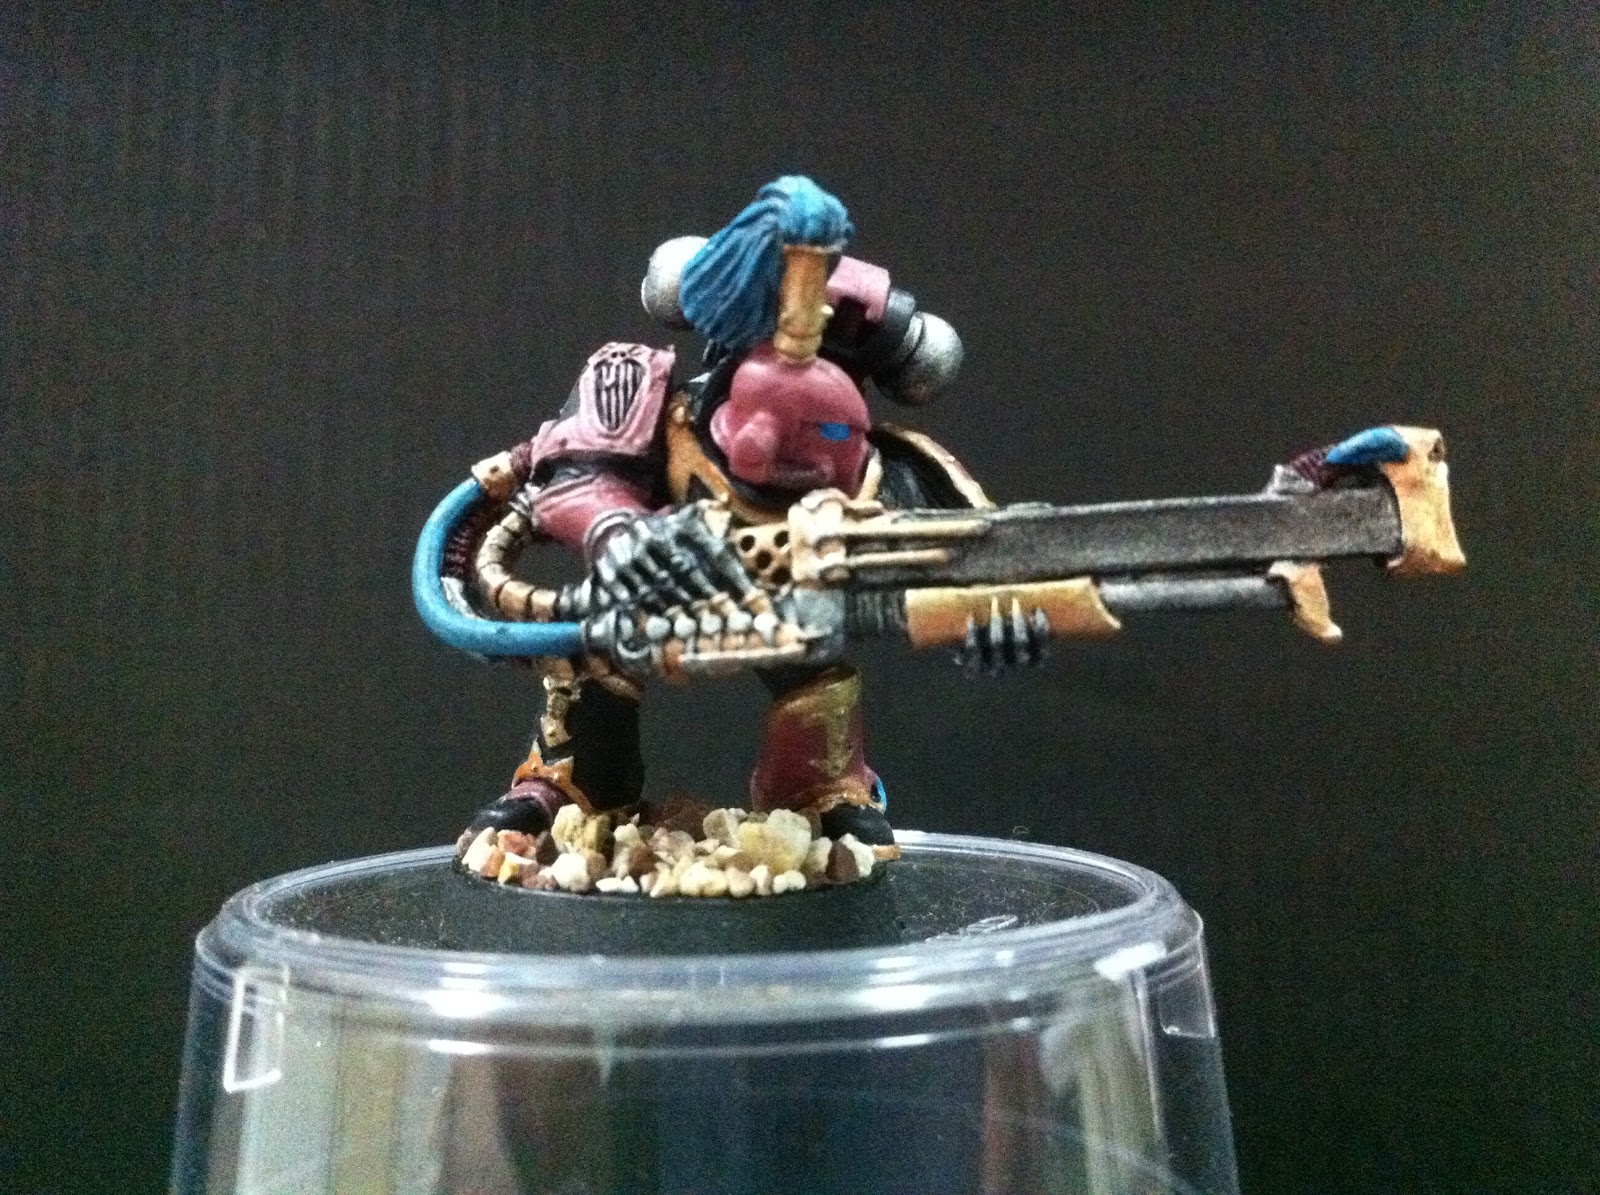
After about 3 months of painting miniatures, I've finally tackled the next big hurdle... painting the eyes! So here are the two Chaos Terminators fresh from the oven.
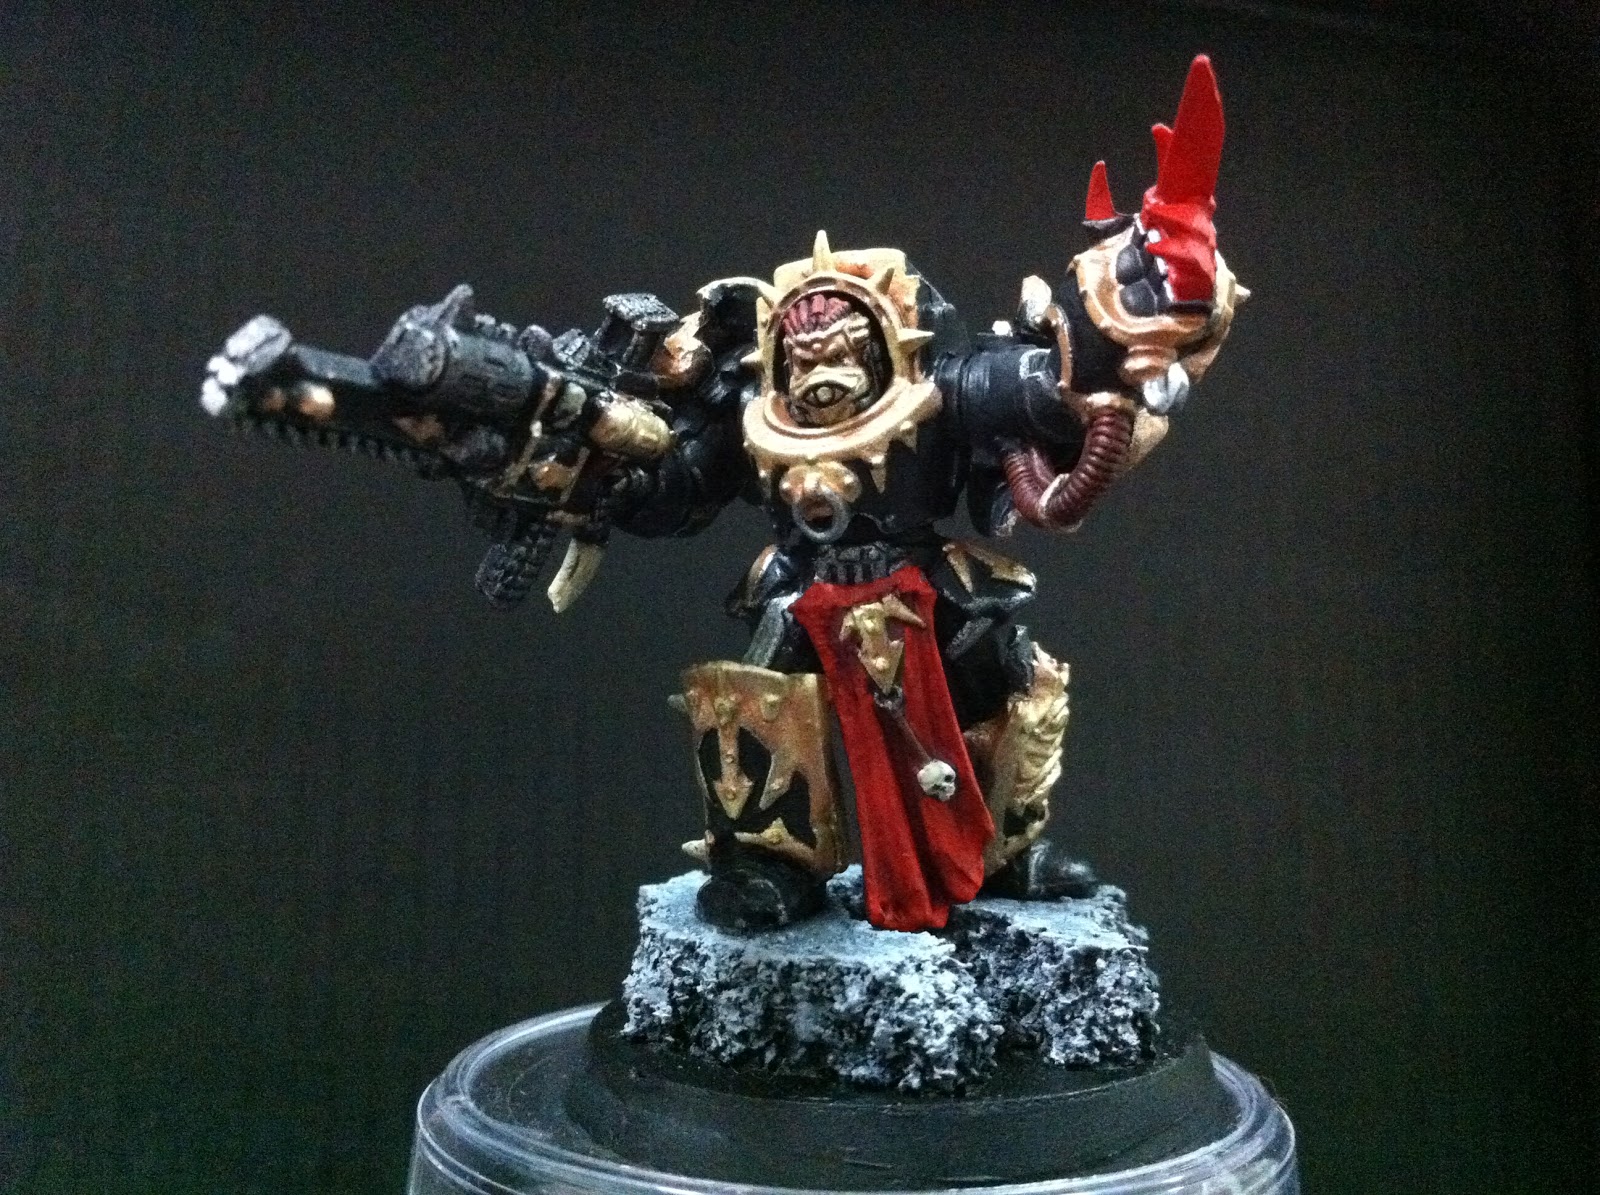
Termie 1 (Let's call him Joe):
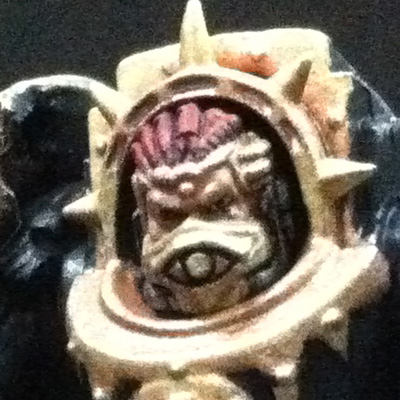
And Joe's eyes...
 Termie 2 (I shall call him Bob ^.^)
Bob's eyes ( I dare say they turned out almost perfect):


Post a Comment